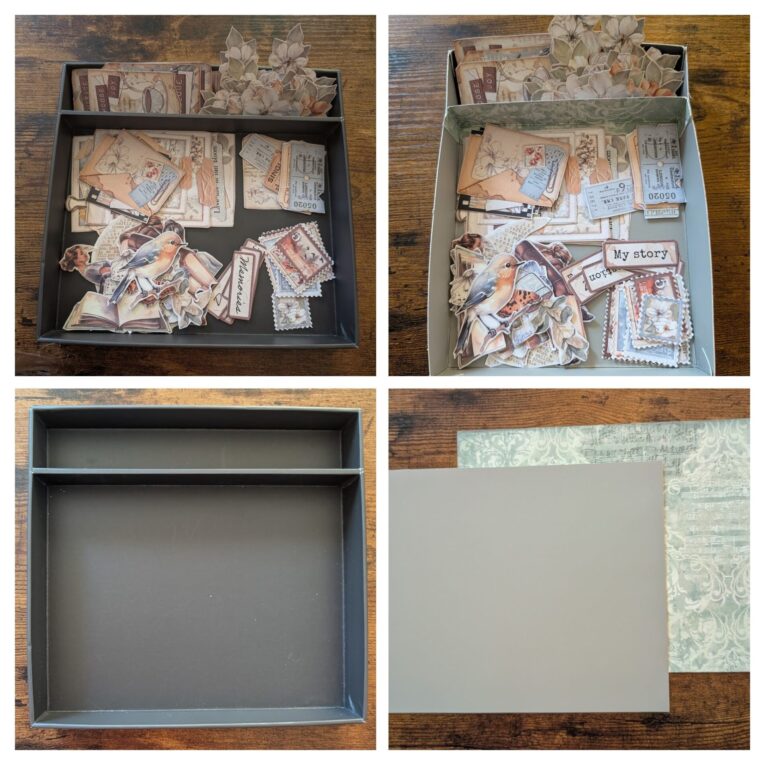
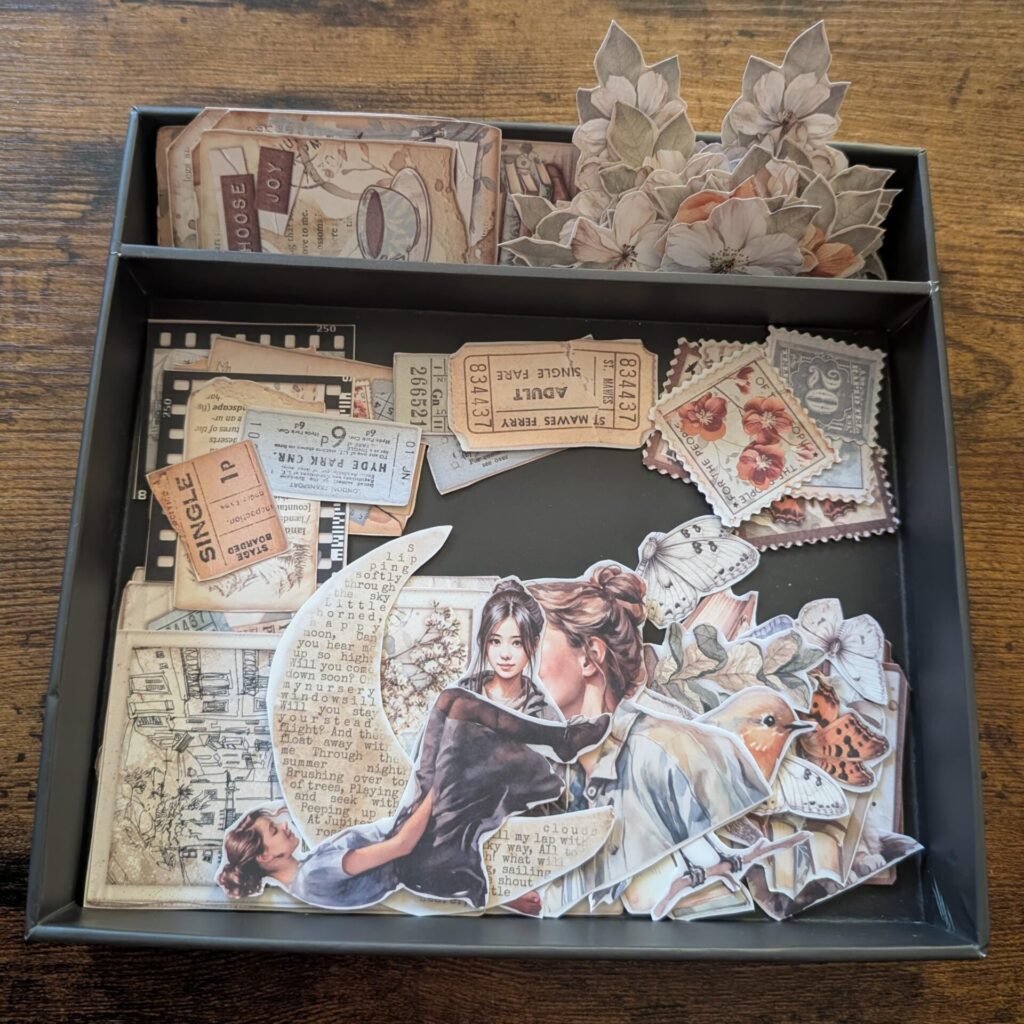
I store ephemera (fussy cuts, tags, journal cards, etc.) in clear envelopes in a box and storage boxes for later use, which helps maintain organization. When you need ephemera for a project, pull out the desired envelope or box and lay out the items for crafting on the table.
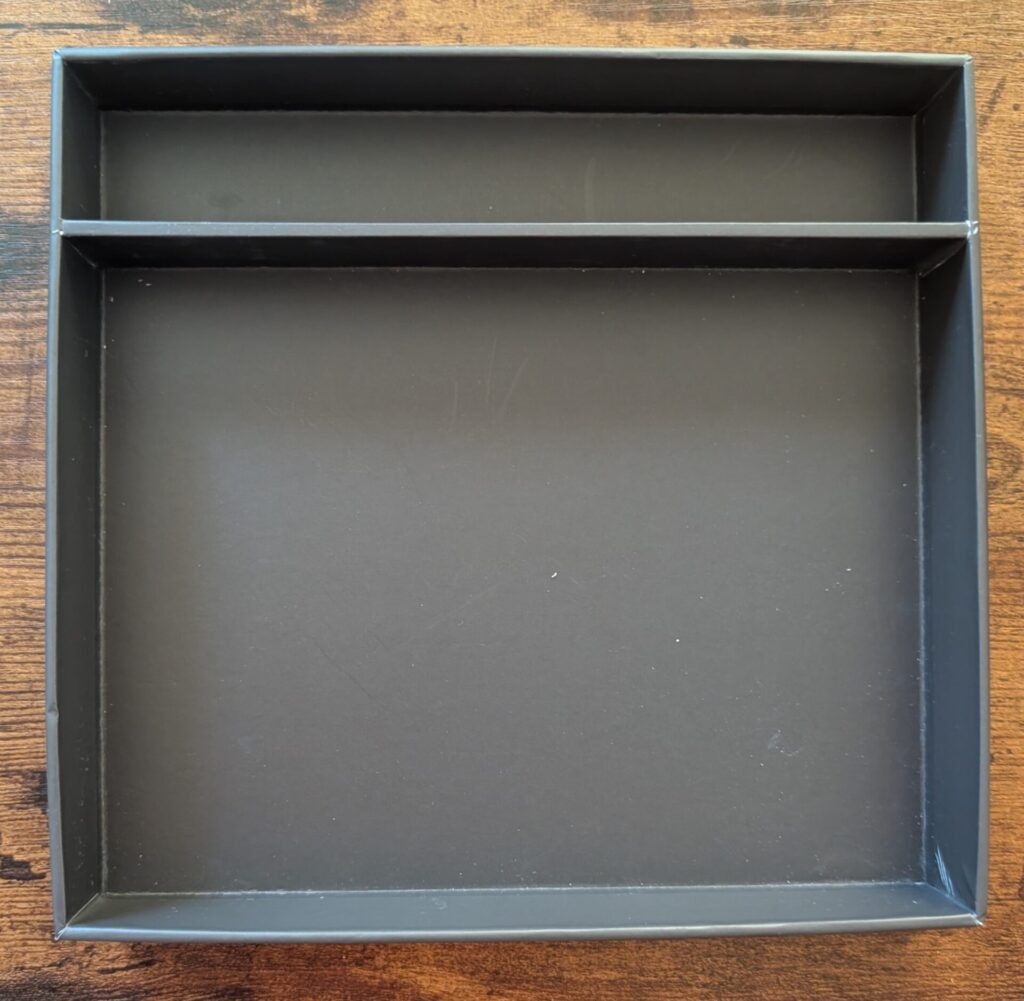
The system worked great. I had not considered the need for an ephemeria sorting tray until I received a Christmas gift with one built in for packaging. The moment the gift was out of the package, I thought, “I’m going to save this little tray; it might come in handy for something.”
One evening, while fussy-cutting for a current project, I picked up the small tray to set the ephemera in. It made the perfect sorting tray for ephemera. I thought it would be great to have a few trays, so off to Amazon in search of ephemeria-sorting trays.
I couldn’t find anything, so let’s make an ephemeria sorting tray. I remembered a video by Ceri the Crafter on how to make an ephemeria storage box. I used this concept to craft a sorting tray. Thanks, Ceri!
I began crafting the sorting tray from a muted pastel 8.5″ x 11″ file folder with good thickness and sturdy construction, purchased on Amazon (Mr Pen File Folders). First, I cut off the tab and the joining sides to separate the folder’s sides. I took one side, cut it lengthwise <—> at 10″ and 8″, top to bottom.
Note: You will score 1″ on all sides to create the sides for the ephemeria sorting tray, so make sure your measurements are whole numbers (8″, 10″, etc).
Next, decide which side will be the inside and which will be the outside.
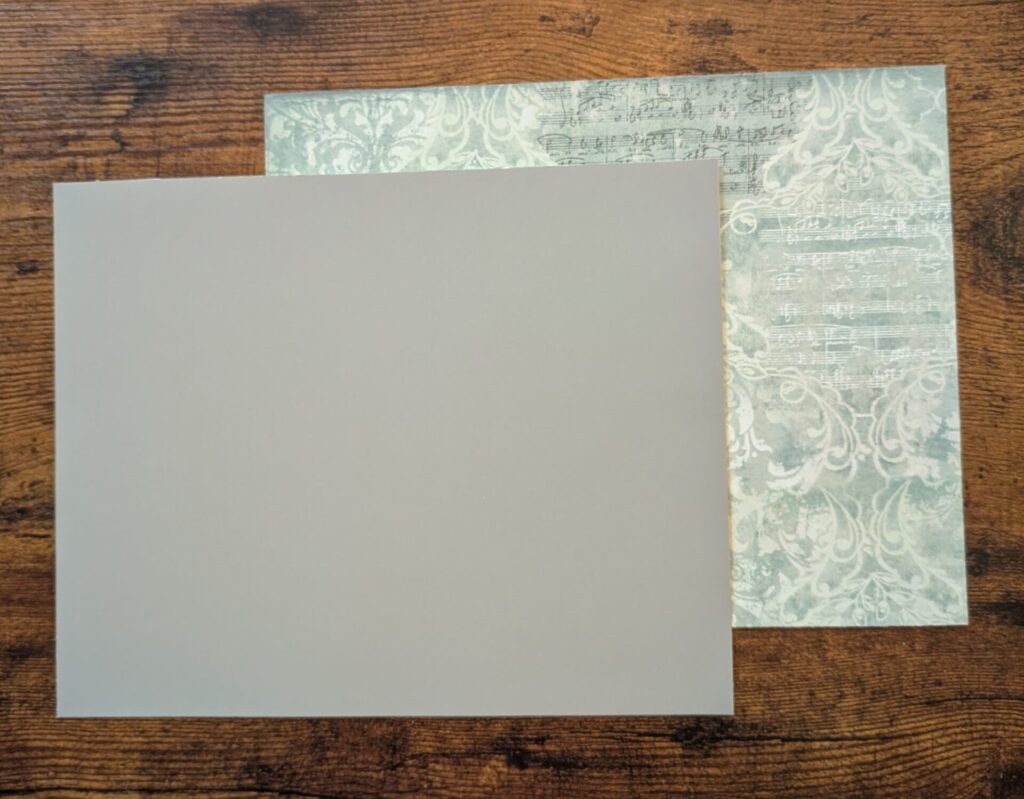
I have the muted pastel green on the inside, cut matching scrapbook paper to size, and glued it on the other side to strengthen the sorting tray. I had to make sure the paper wasn’t too thick and let the glue dry completely before scoring the fold lines.
Note: the width of your score lines will determine the height of your sorting tray. My tray has 1″ sides, but if you want 2″ sides or more, score the width of your lines to match.
I used the We R Makers Trim and Score Board to make a 1″ score (the height of my sorting tray sides) on the left and right sides and along the top and bottom. I slowley scored over the same line three times so the sides would be easier to fold.

Next, cut off the corners diagonally, as shown in the template above. Once you remove all corners, cut each corner inward, stopping at the joining sides to create two small triangles to glue to the inside and outside of the side walls, holding the tray together.
Download the Ephemeria Sorting Tray Template. PDF. The divider measurements are below in jpg format.
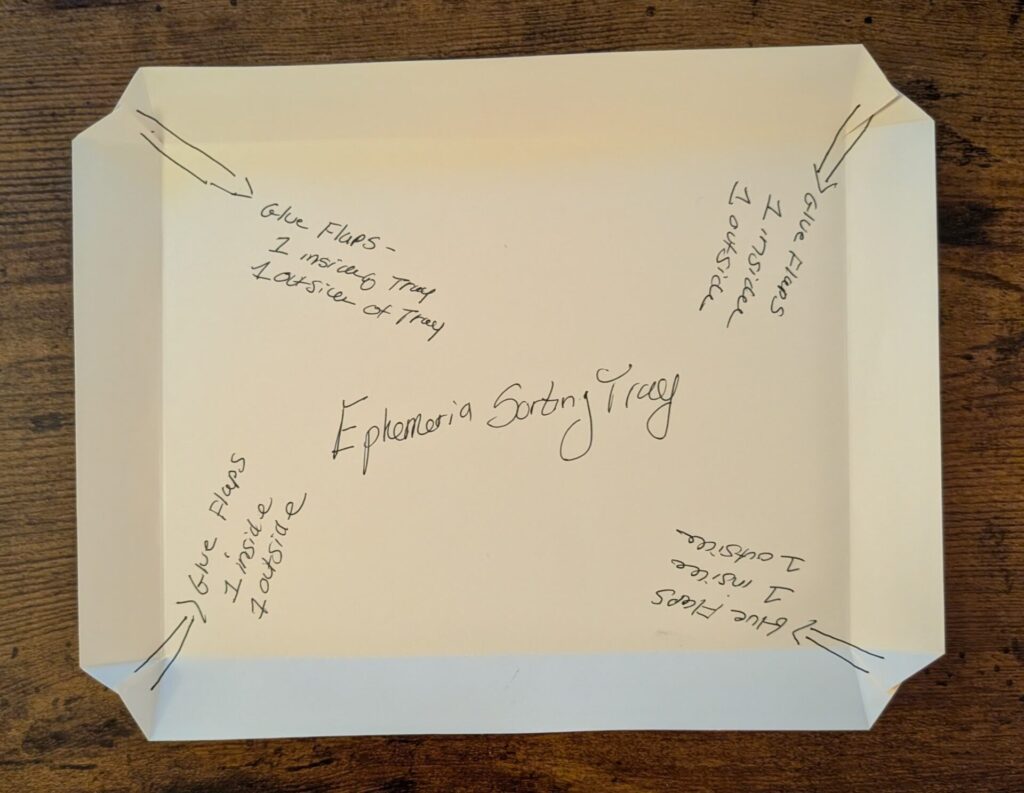
The next step is to fold all your scored lines, including the small triangles, and press with a bone folder; the handle of your scissors will do nicely, too. Then take your small triangles and put one inside and the other outside on each corner. Now it’s time to glue the corners. I used Art Glitter Glue to secure the corners and the inside divider.
To make the inside divider, cut a strip of file folder and decorate it as you did for the sorting tray.
My sorting tray measures 8″ in width, so my divider will need to measure 1″ less, or 7″, to fit inside. The height of my sorting tray is 1″, so my divider will need to measure 1/2″ more, or 11/2″, to fit inside. The 1/2″ score on the bottom and along both sides will secure the divider in place.
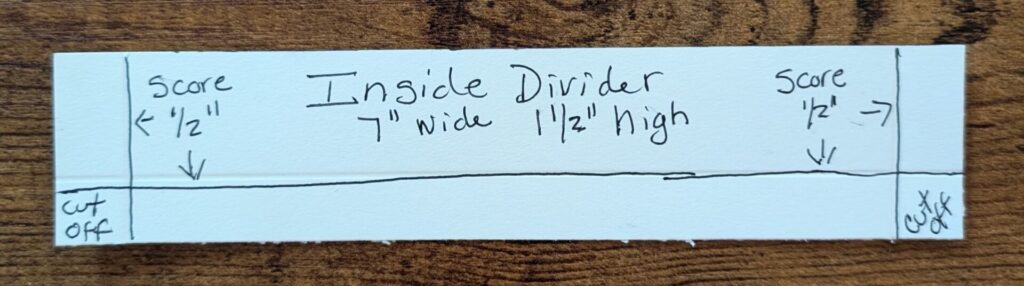
Inside Divider Template: Right-click to save and print divider measurements.
Once you have the inside divider cut to size, scored, and corners trimmed off, you can start gluing it down. I recommend keeping a few small bulldog clips handy to hold the sides in place until the glue dries.
I first secured the bottom flap to the inside of the tray with Art Glitter Glue, holding it firmly in place for a few minutes until the glue began to dry. Once the glue was dry, I secured both sides in place with glue and used mini bulldog clips to hold them together until the glue was entirely cured.
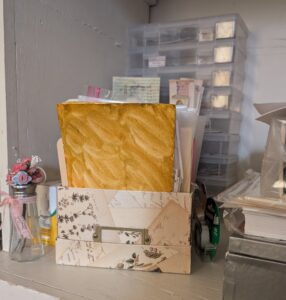
I think it turned out pretty good 🙂 You can make more and stack them nicely, too.