
Making your own patterned coffee-dyed paper is a great way to add decorative pages and ephemera to your junk journals. I’ve discovered several ways to craft patterned coffee-dyed papers from various artists on YouTube.
You can use various types of paper, items such as stencils (regular stencils, placemats, etc.), instant or brewed coffee or tea, and dry pages, both outside in the sun and indoors.
I prefer to use Southworth Resume or Parchment 24lb paper, 100% cotton, which absorbs coffee or tea very well and makes beautiful patterns. Regular copy paper works great for a lighter effect, too.
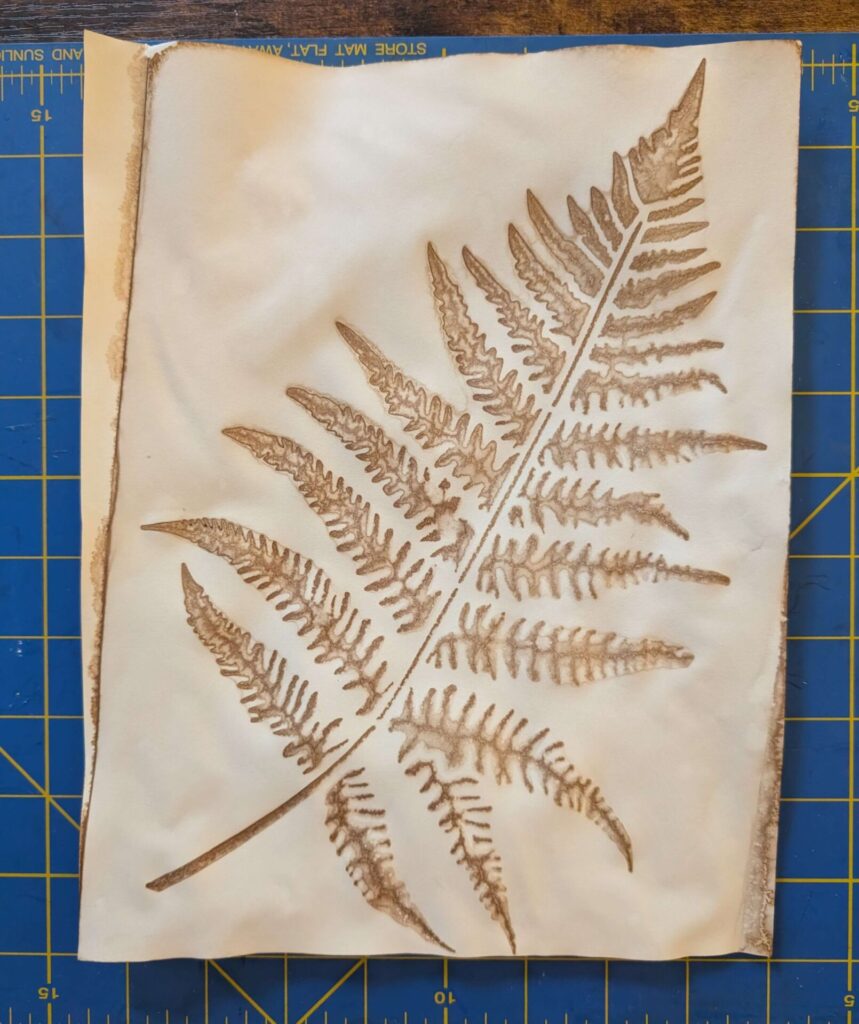
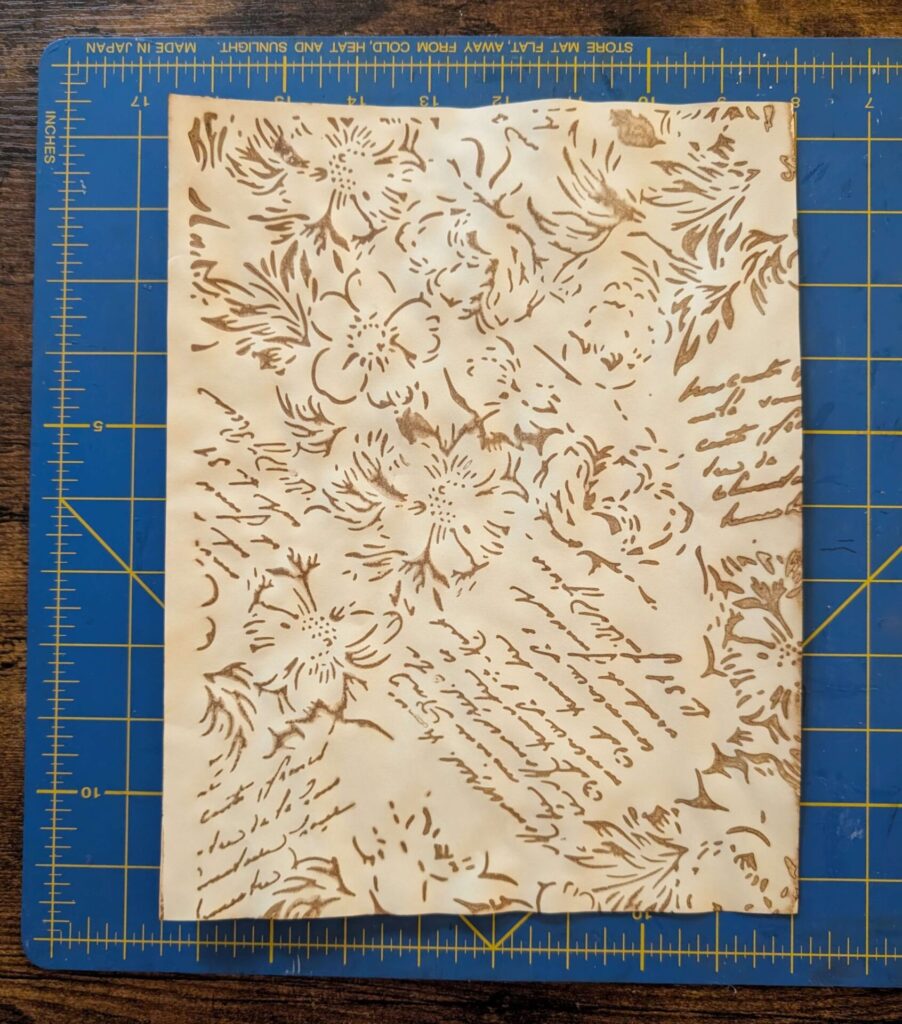
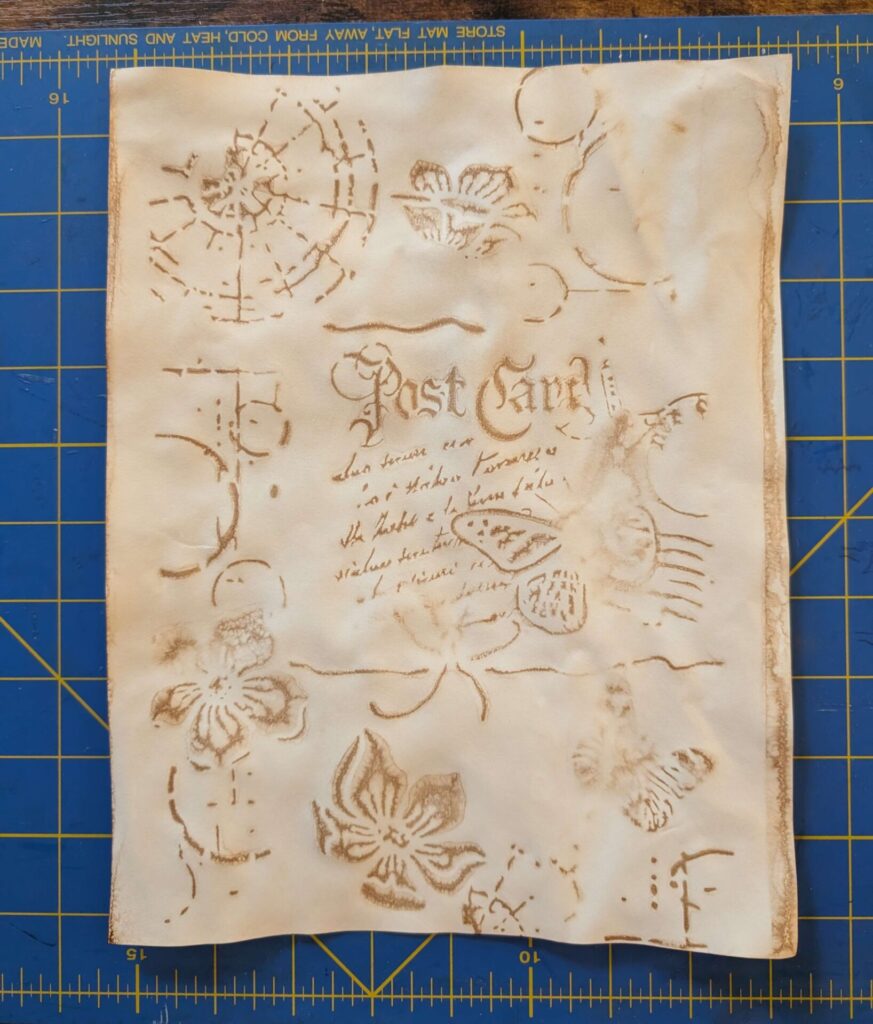
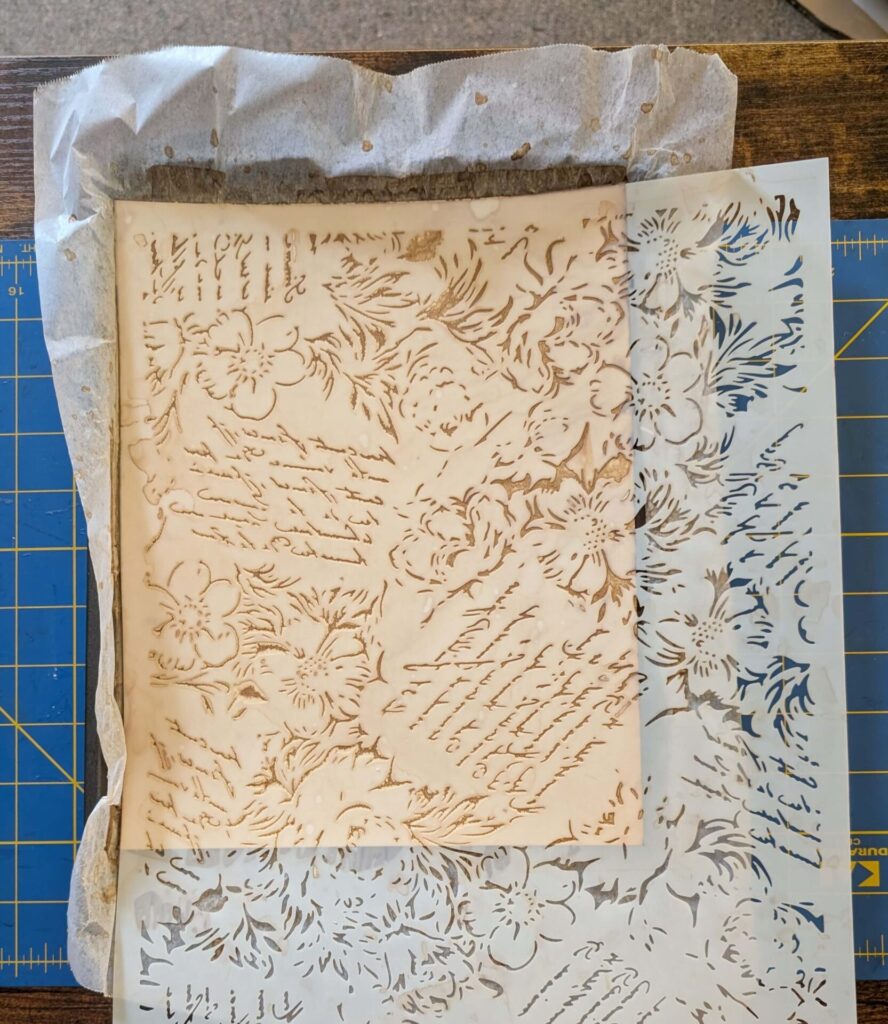
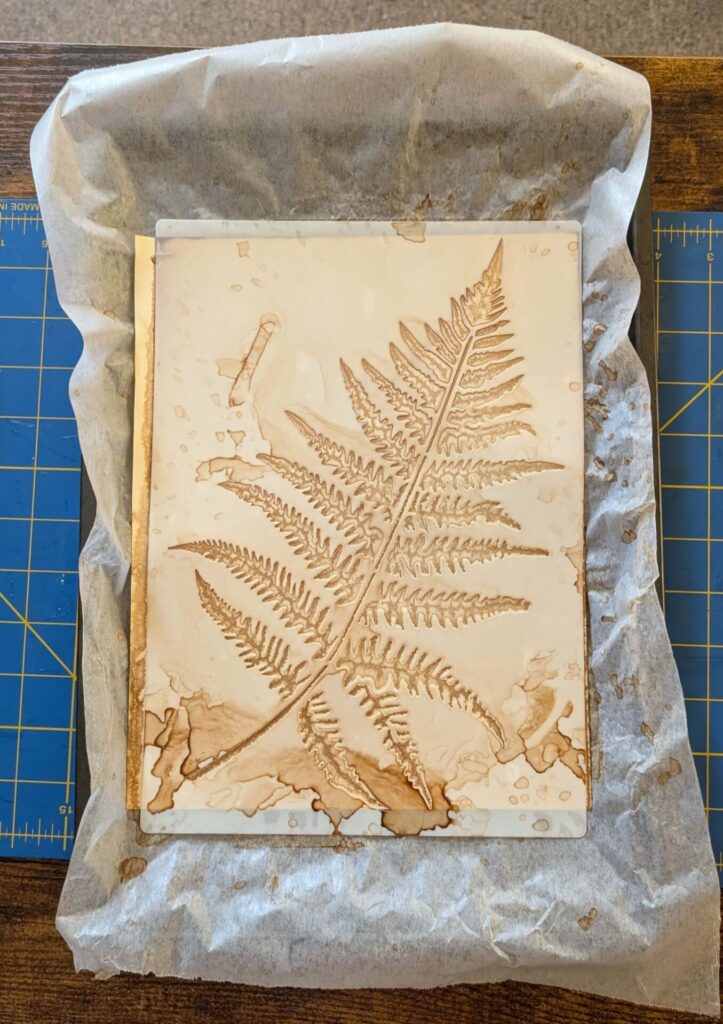
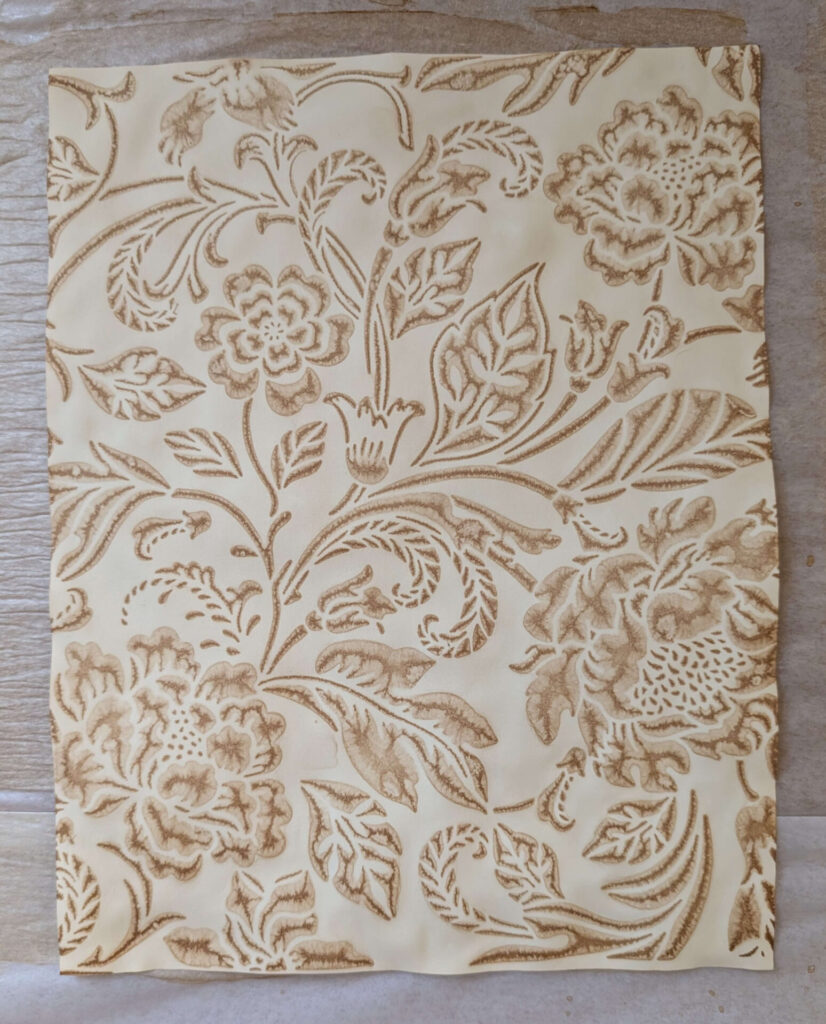
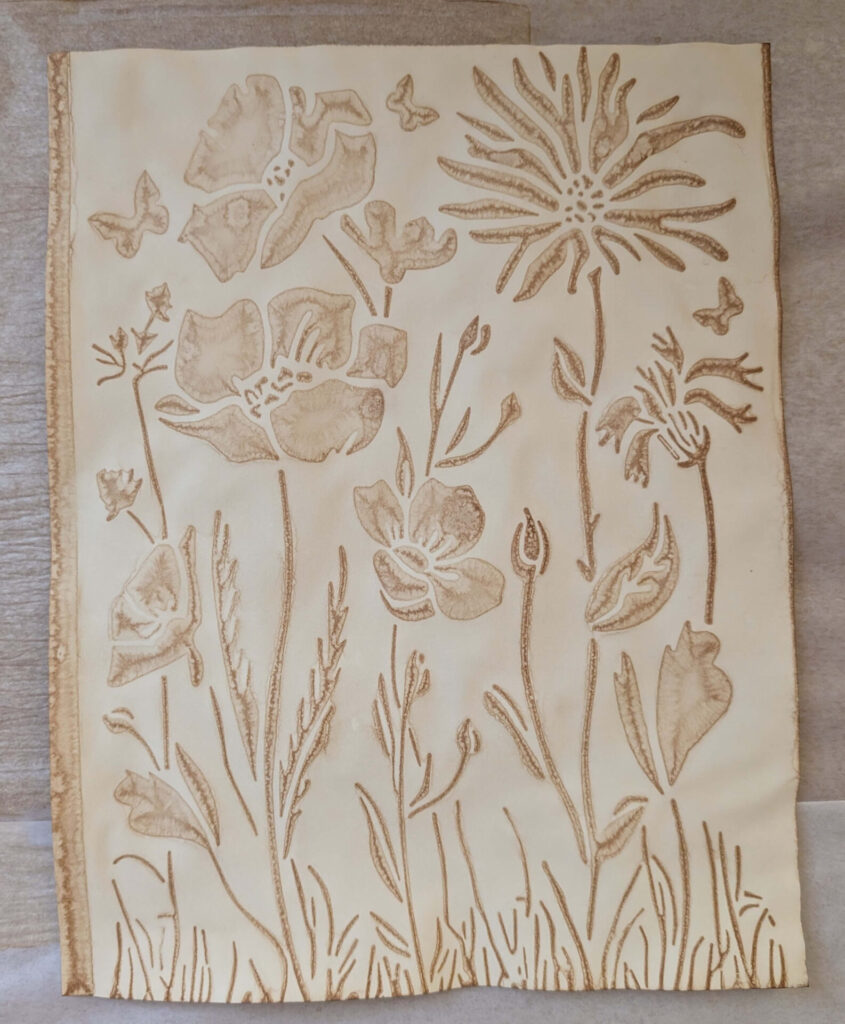
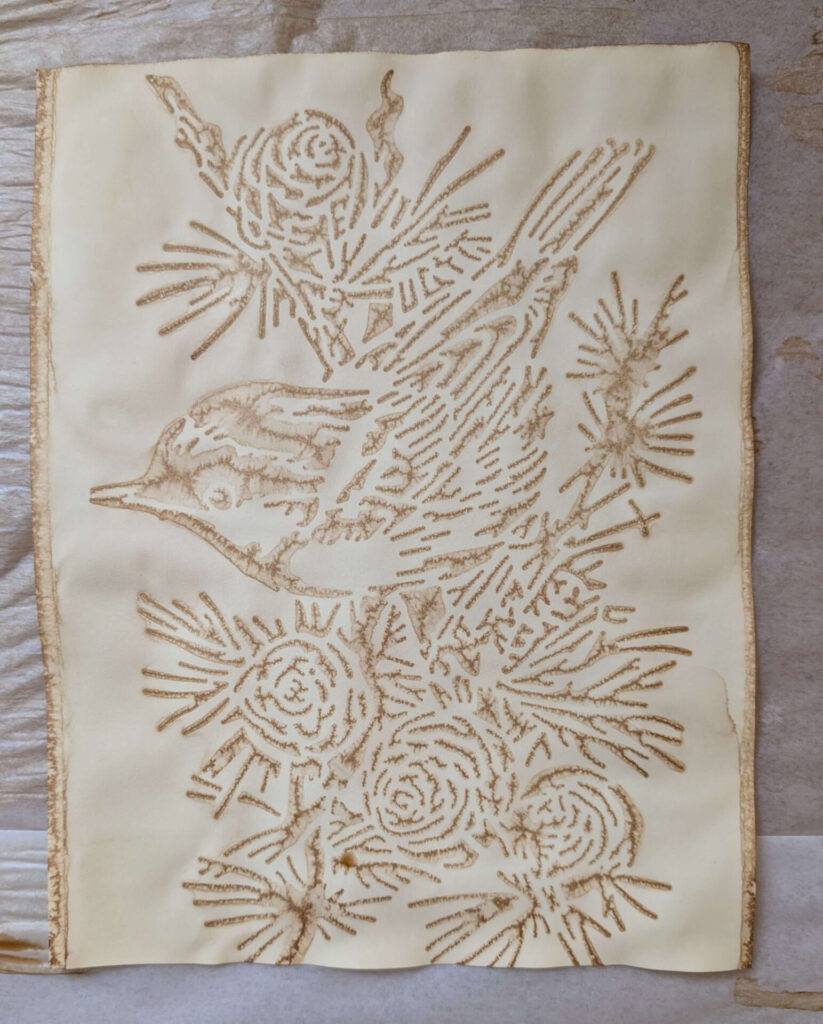
I love using nature-themed (Ferns, Flowers, Birds, Dragonflies, Butterflies, Leaves, Etc) and script stencils to create various patterns on coffee-dyed paper.
I dye papers with brewed coffee, because instant coffee tends to leave a strong coffee smell on the paper. And air-dry the papers inside, leaving them untouched on paper bags or large pieces of cardboard lined with wax paper until completely dry.


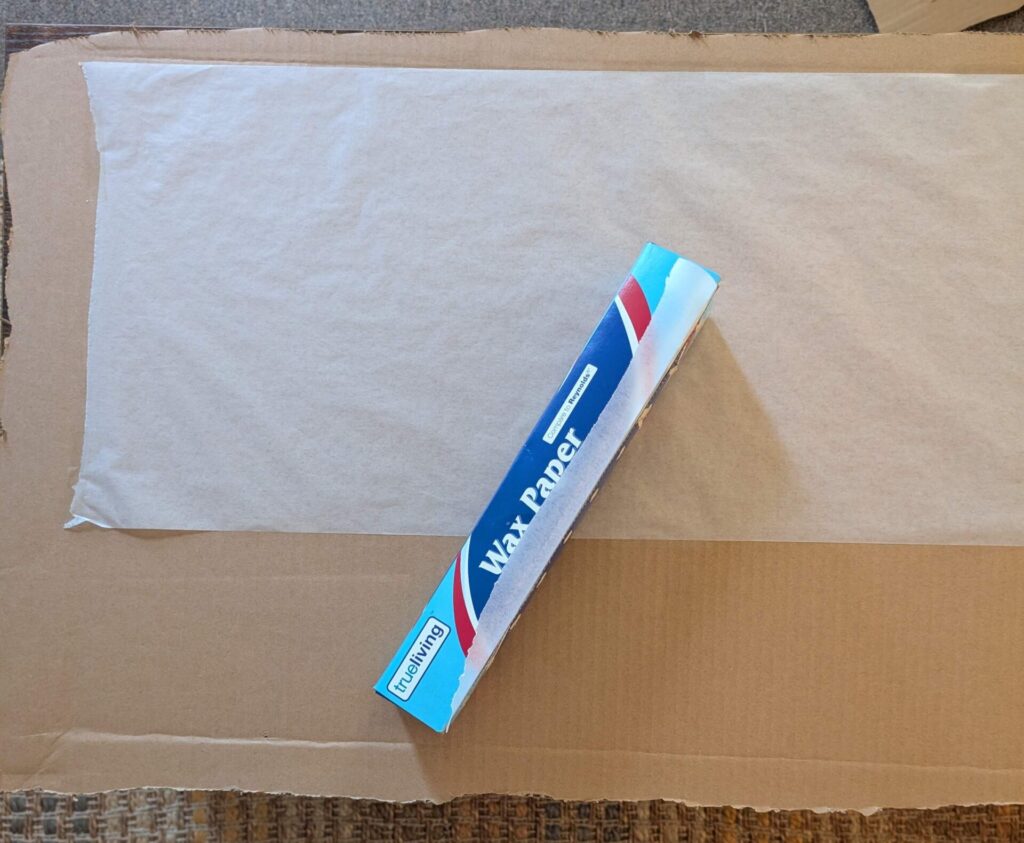
Another option for drying papers in small spaces is to use cookie sheets lined with wax paper. When you lay down the wax paper, make sure it’s wax side up to help prevent the wet paper from sticking.
Step One – Get Your Coffee or Tea Bath Ready
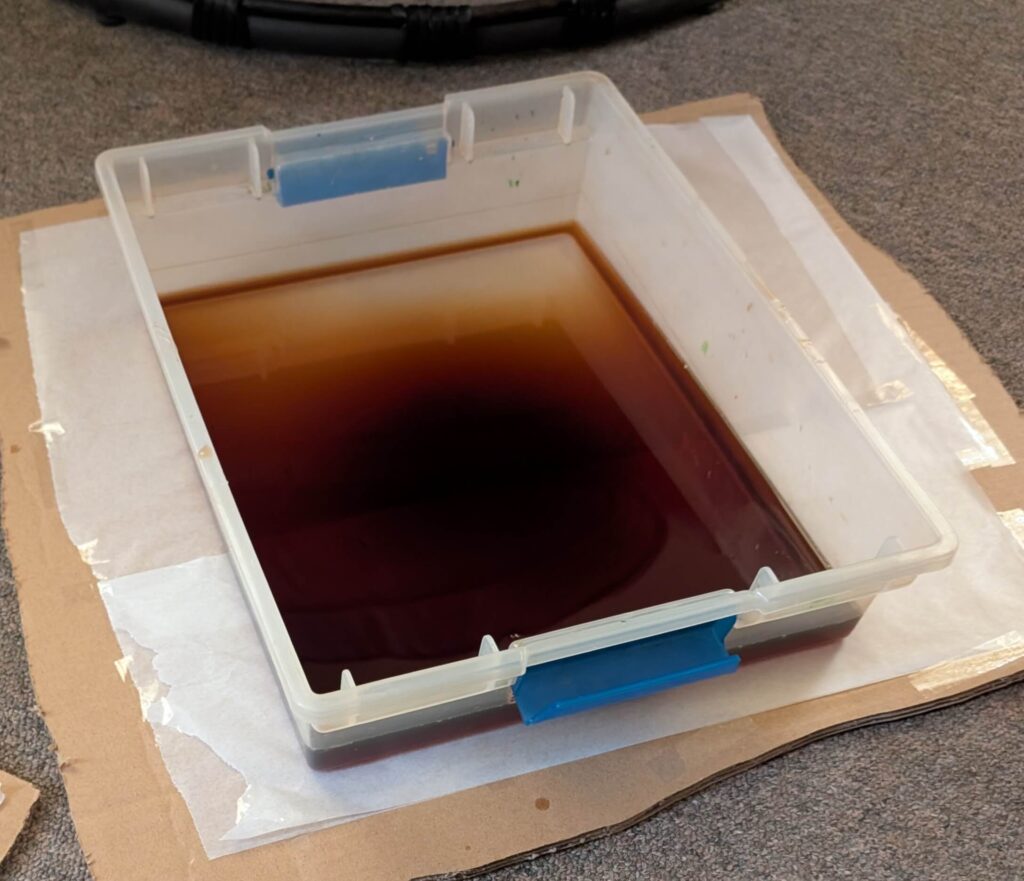
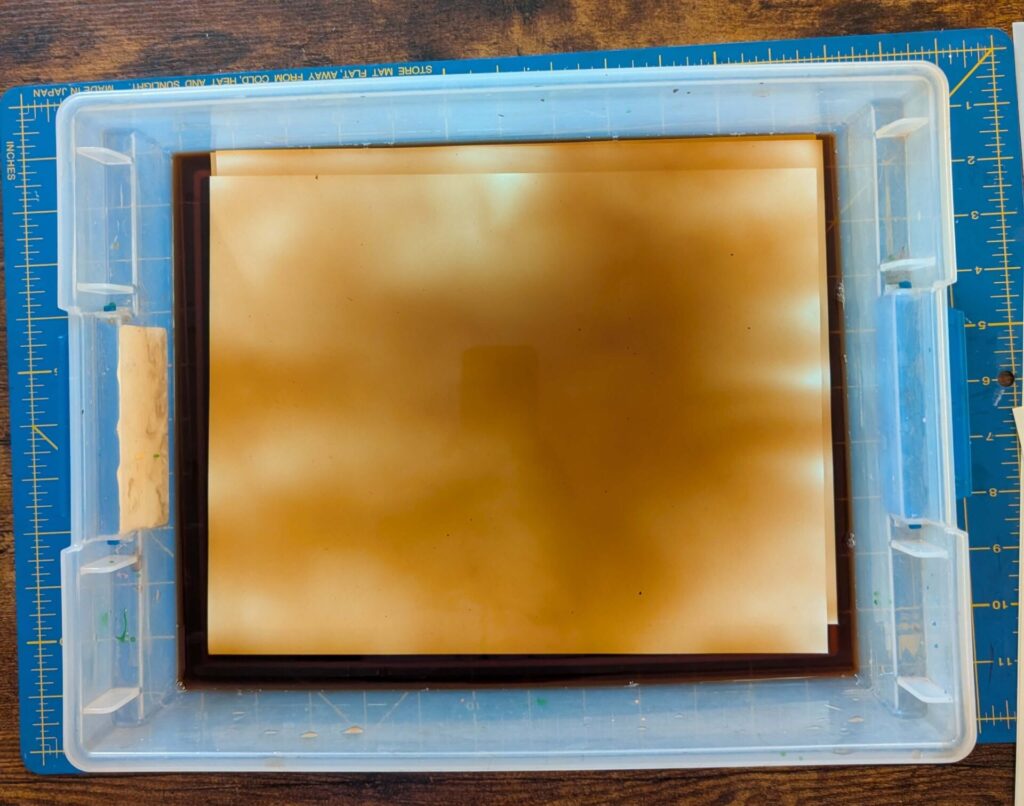
Now that you know the basics of making patterned coffee-dyed papers, let’s begin. The first step is to prepare your coffee or tea bath to dip your papers. Make coffee or tea as usual, and let it cool to room temperature while you get a plastic or metal pan to dump the mixture into for dipping. Strong coffee will yield darker results, and a lighter brew or tea will yield lighter results.
Step Two – Decide What to Dry Your Papers On
Next, you need to decide what you will use to set the papers onto to dry. Will you use a cardboard or a cookie sheet covered with wax paper? I suggest using the cardboard method if you plan to make several.
I also cover a small cardboard to set the plastic coffee bath bin onto. This comes in handy when you place the stencil on the paper and need to drip more on top.
Step Three – Get Your Stencil Ready
I use a variety of nature- and script-themed plastic stencils; some are large, full-page stencils, while others are half-page or smaller. I’ve never tried metal stencils, so I don’t know how well they work. I have great success with the plastic ones.
Once you have your stencils ready, your coffee or tea bath prepared, and your drying method set up, it’s time to begin making your patterned coffee-dyed papers.
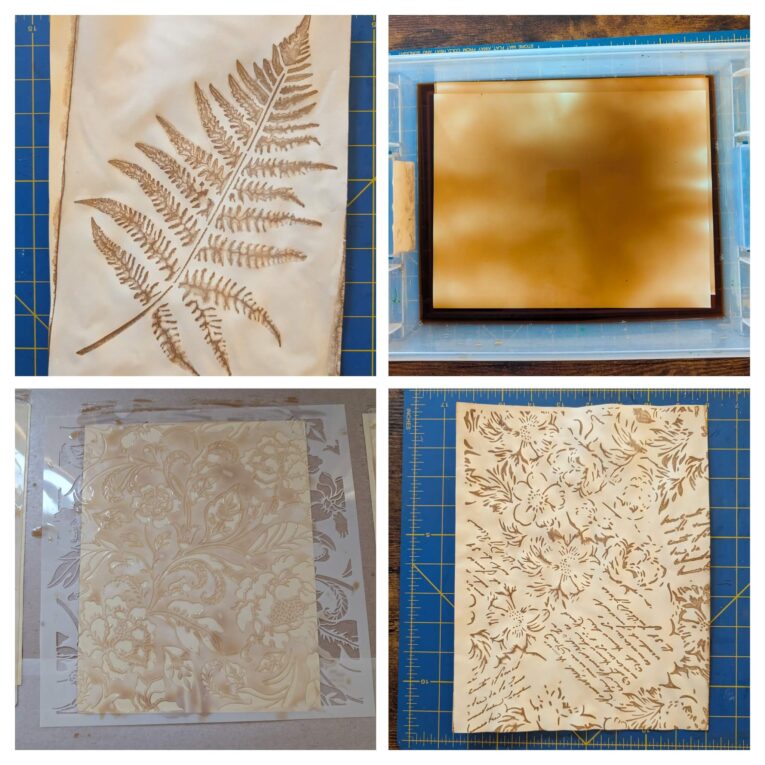
Step Four – Let’s Make Patterned Coffee-Dyed Papers
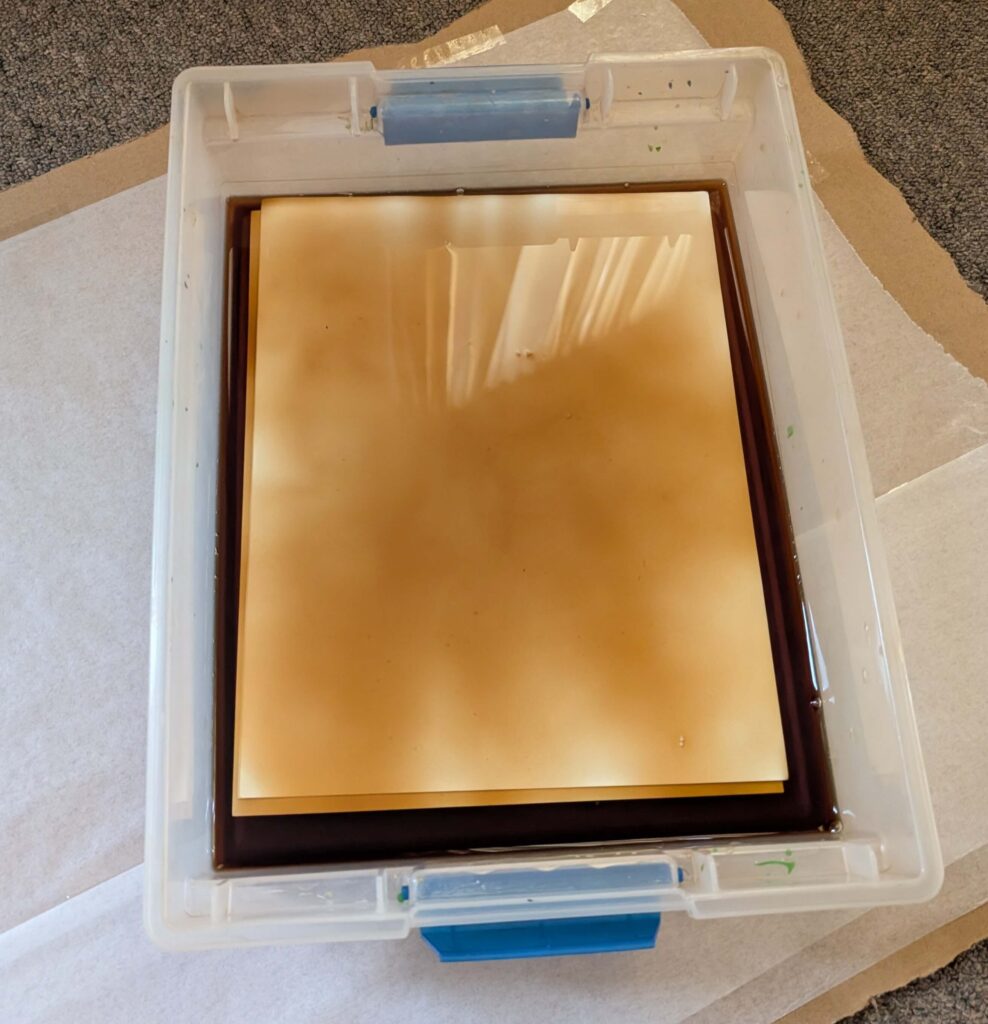
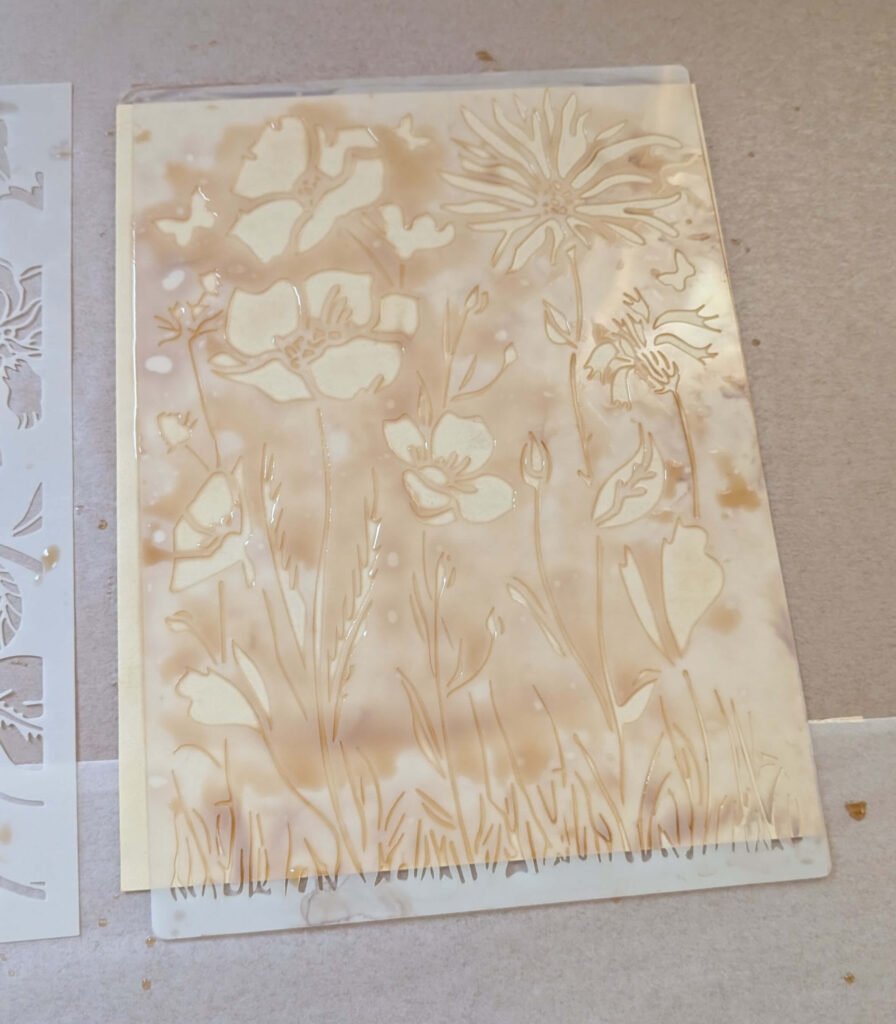
Start by dipping your paper into the coffee or tea bath, then let it sit for a few minutes. Pull the paper out and set it on your cardboard or cookie sheet. Then lay your stencil over the paper and press down gently to make sure it sticks well.
Next, sprinkle some coffee or tea mixture over the stencil to cover the open spaces.
I use my fingers, dipping them into the bath to gather the mixture and drip it over the stencil in various places. Then mix it around on the stencil with my hand to make sure it’s completely covered.
This allows the coffee or tea to seep into the paper, leaving an imprint as it dries.
Repeat the process until you have the cardboard or cookie sheets covered with paper and stencils to dry.
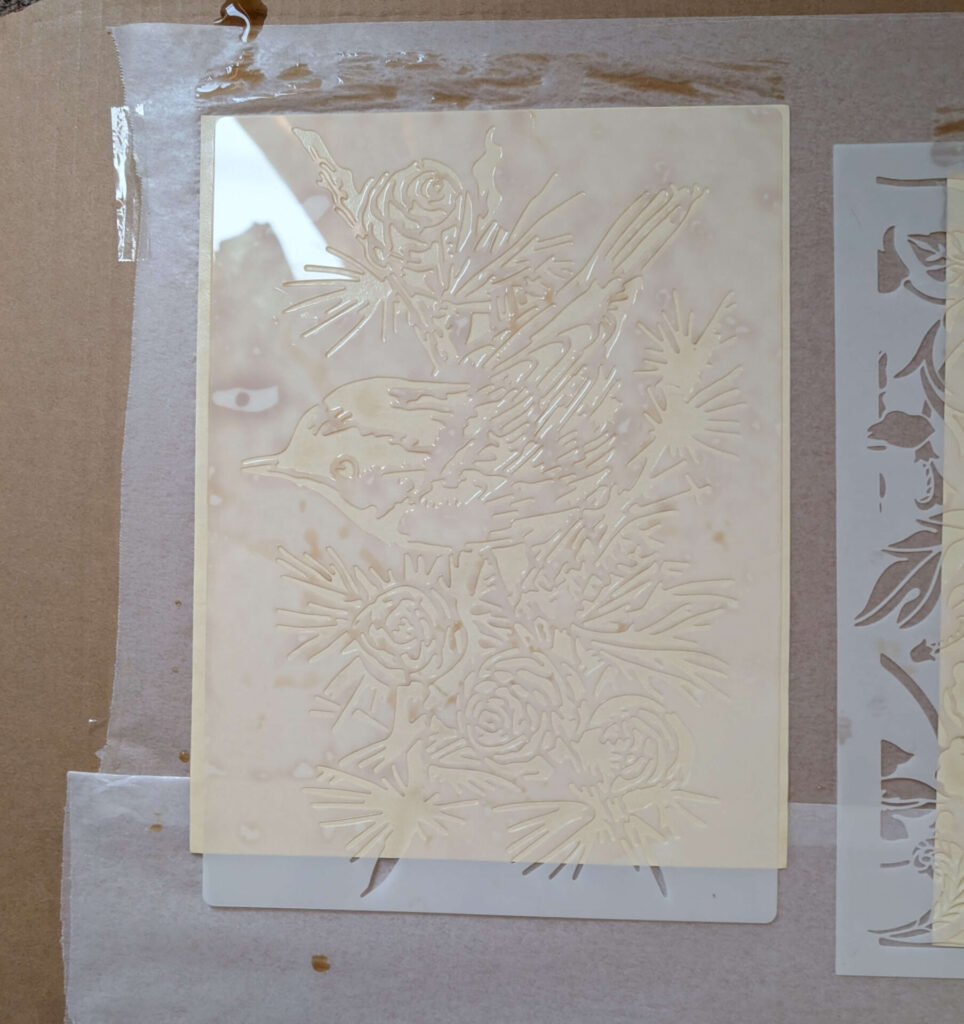
As the coffee or tea dries, it naturally collects in the open spaces on the stencils, leaving an impression behind. Leave the papers to dry, and remember not to sneak a peek to see how they look, as it disrupts the imprint process.
Drying time varies depending on your climate. I’ve found papers dry completely in about four hours.
Once it’s completely dry, the stencil will lift off the paper without any trouble. Then you can start the process again and make more beautiful patterned coffee-dyed papers.
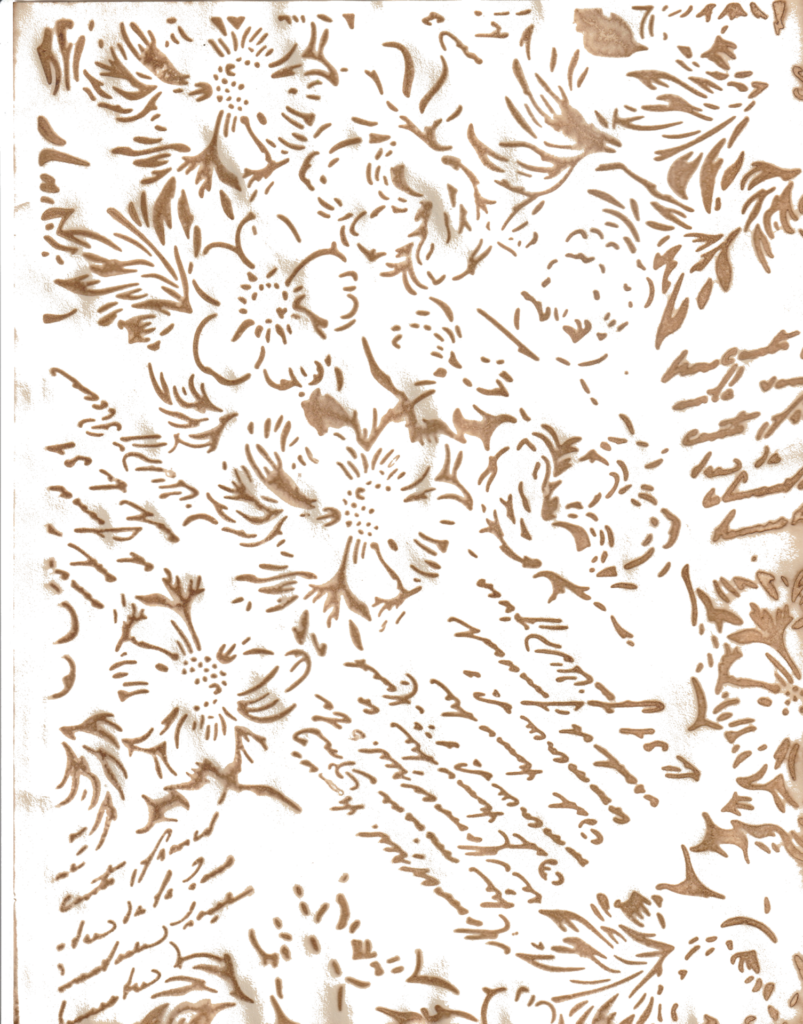
Here are the dried papers, with a printed version of the original and a printable copy (the last one).
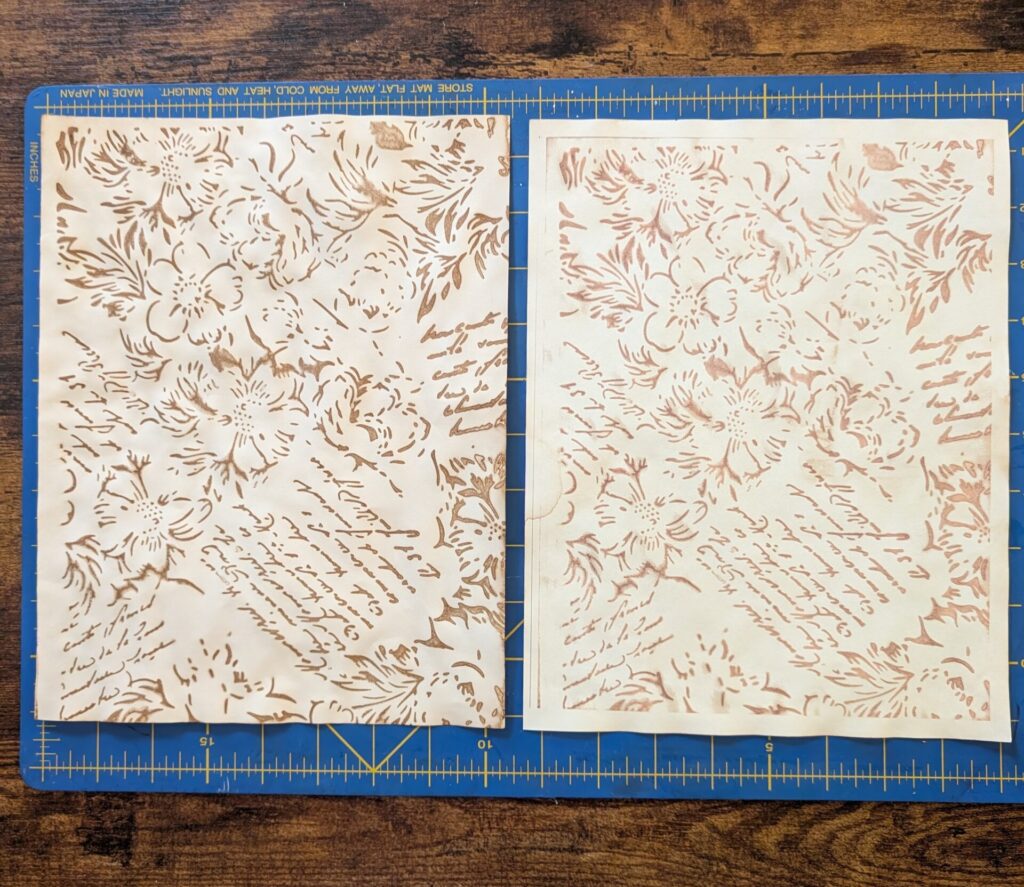
Printed Version Right
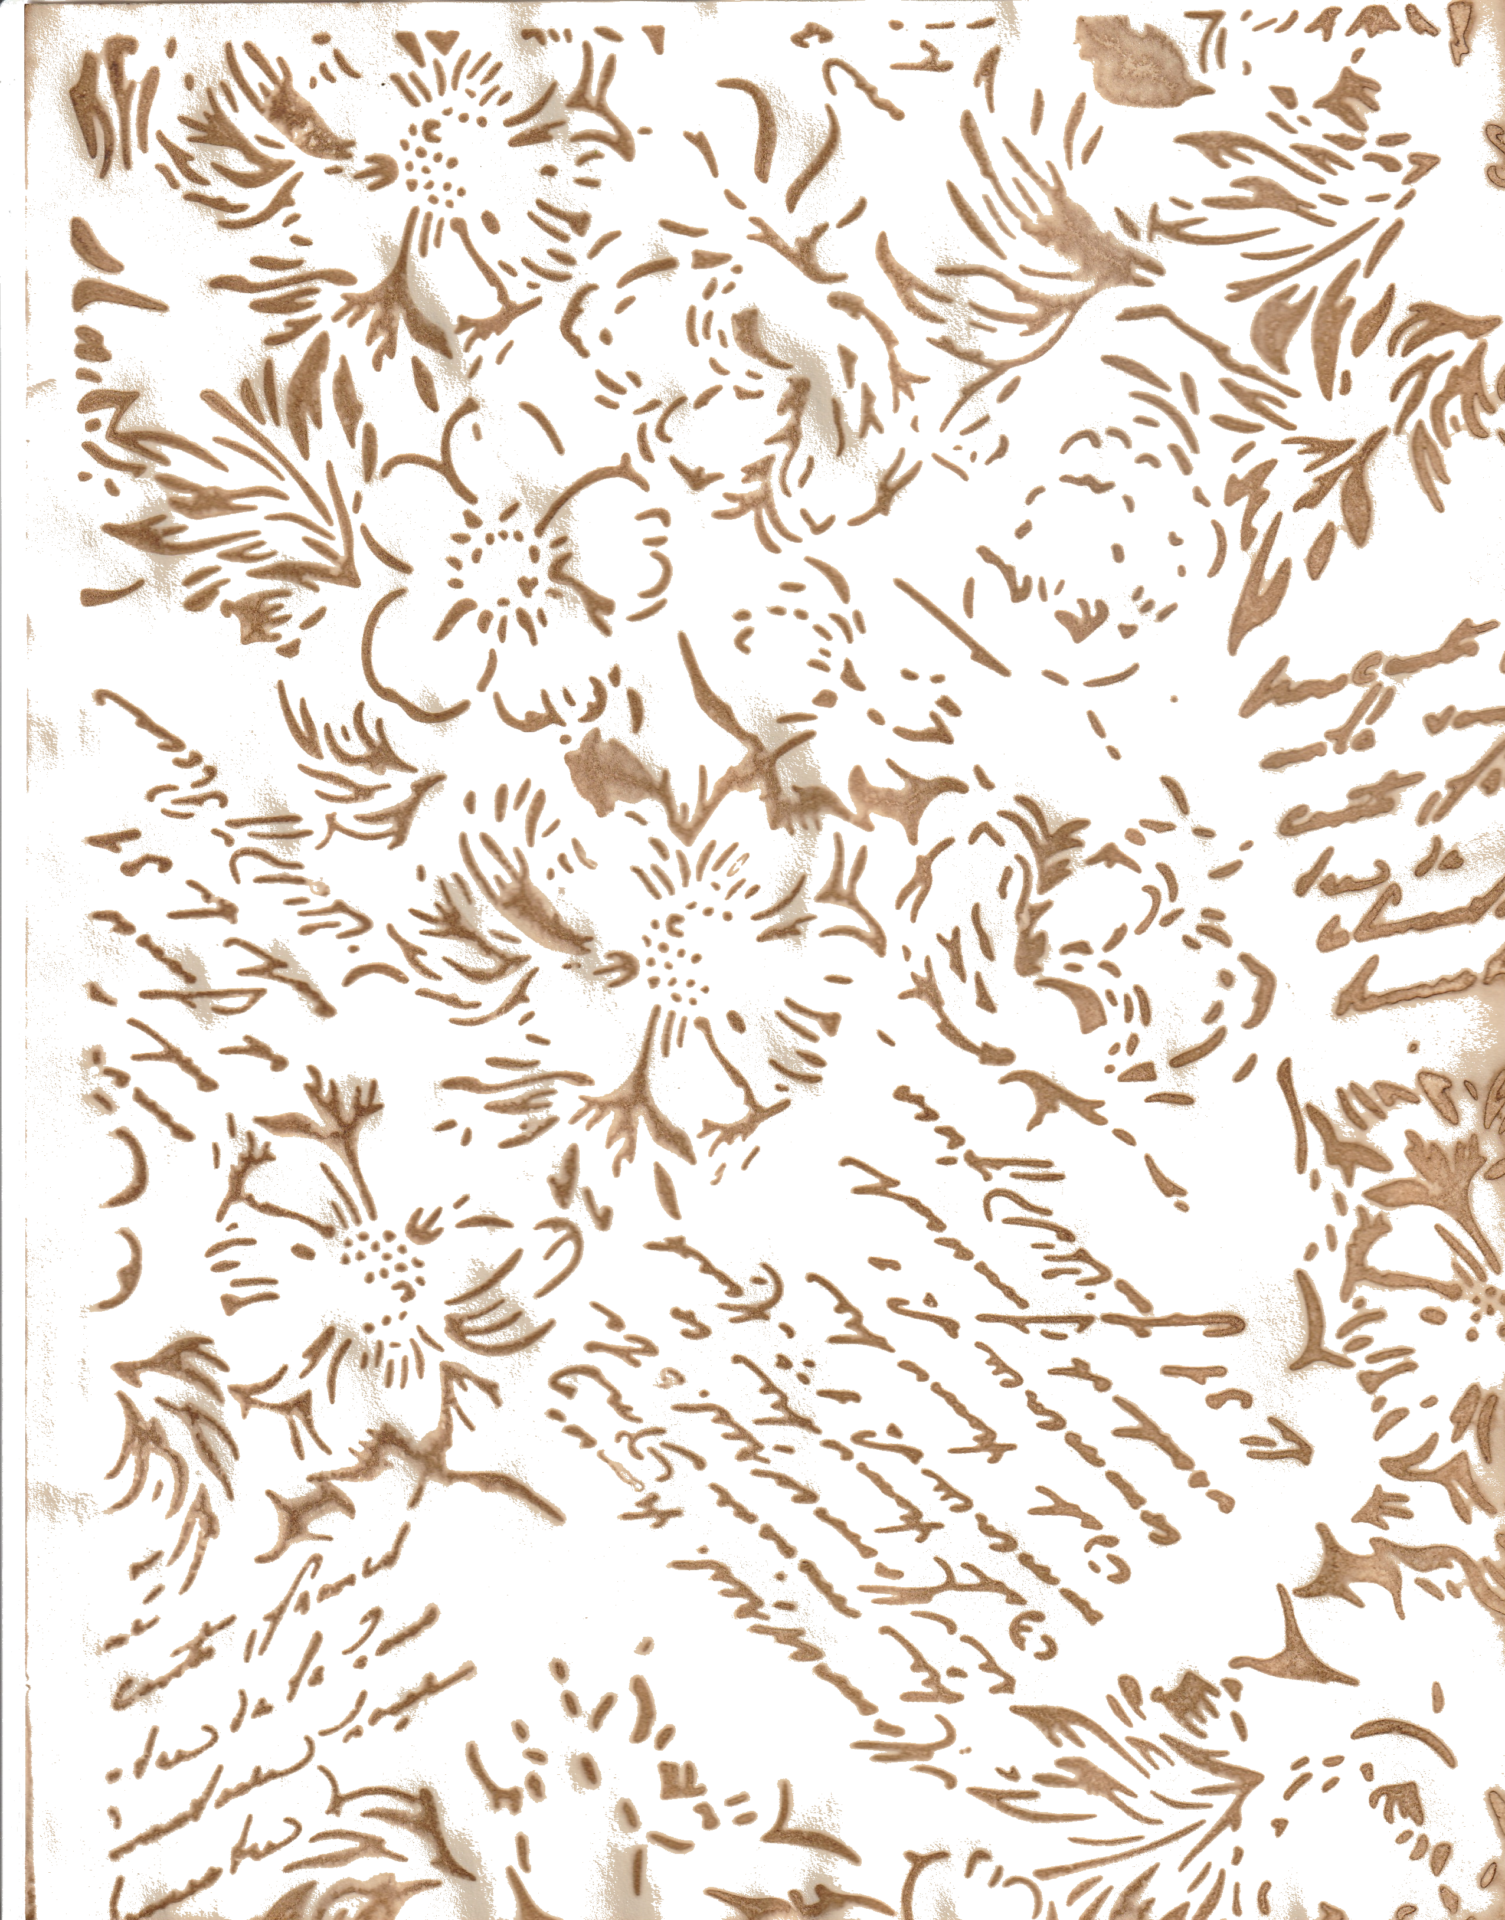
Download Printable Script and Flower Patterned Coffee Dyed Paper
To download the printable patterned paper, select the PNG or pdf link below, save the image or pdf file to your device, and print. Make sure you print on coffee-dyed paper, as the background was removed to prevent reprinting. This way, you will only print the pattern.
Tip; set your printer to borderless printing to fill the page.